.png)
.png)
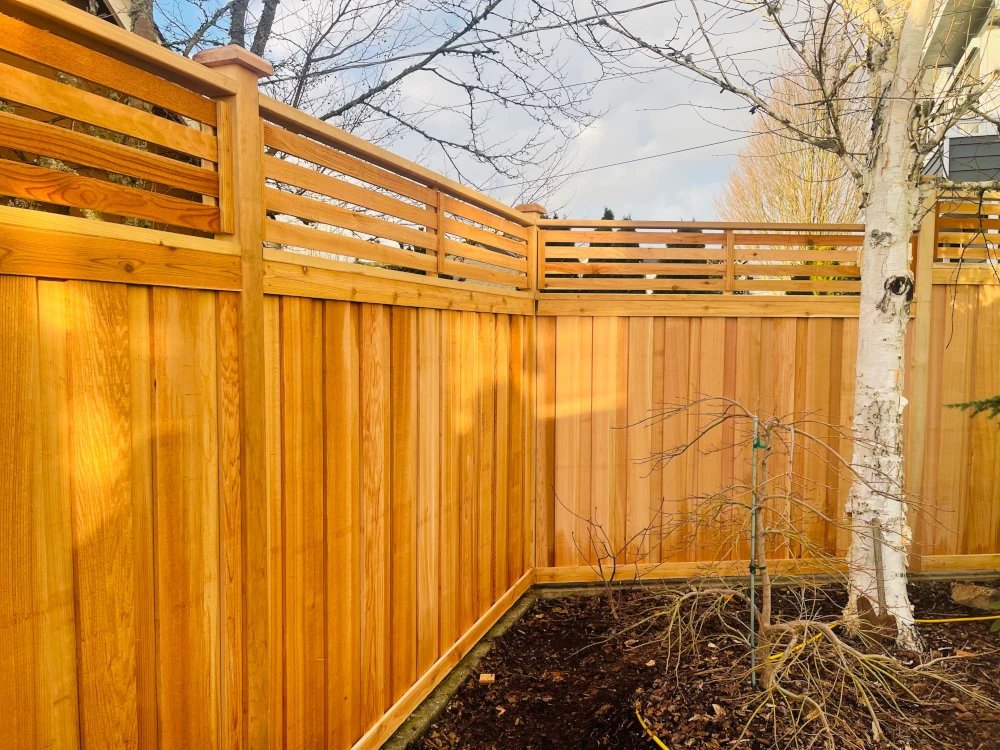
Want to learn how to stain a cedar fence for the first time but not sure where to start? There are a few key factors to understand to prepare properly and get the job done right. Doing so will help you achieve a beautifully stained fence that stands up to changing weather.
In this guide, we’ll walk you through the entire process on how to stain a cedar fence—from choosing the right stain to applying it and maintaining your fence over time.
Why You Should Stain Your Cedar Fence
Cedar is a popular fencing choice because it naturally resists rot and insects and offers a warm, attractive look. In damp climates like the Pacific Northwest, frequent rain, shaded yards, and moss growth can speed up that damage even more. Staining a cedar fence provides:
- UV protection: Prevents the wood from turning gray within a year by blocking harmful sun rays.
- Moisture resistance: Reduces warping, splitting, and rotting by sealing out water.
- Mold and mildew defense: Keeps your fence clean and free of unsightly stains.
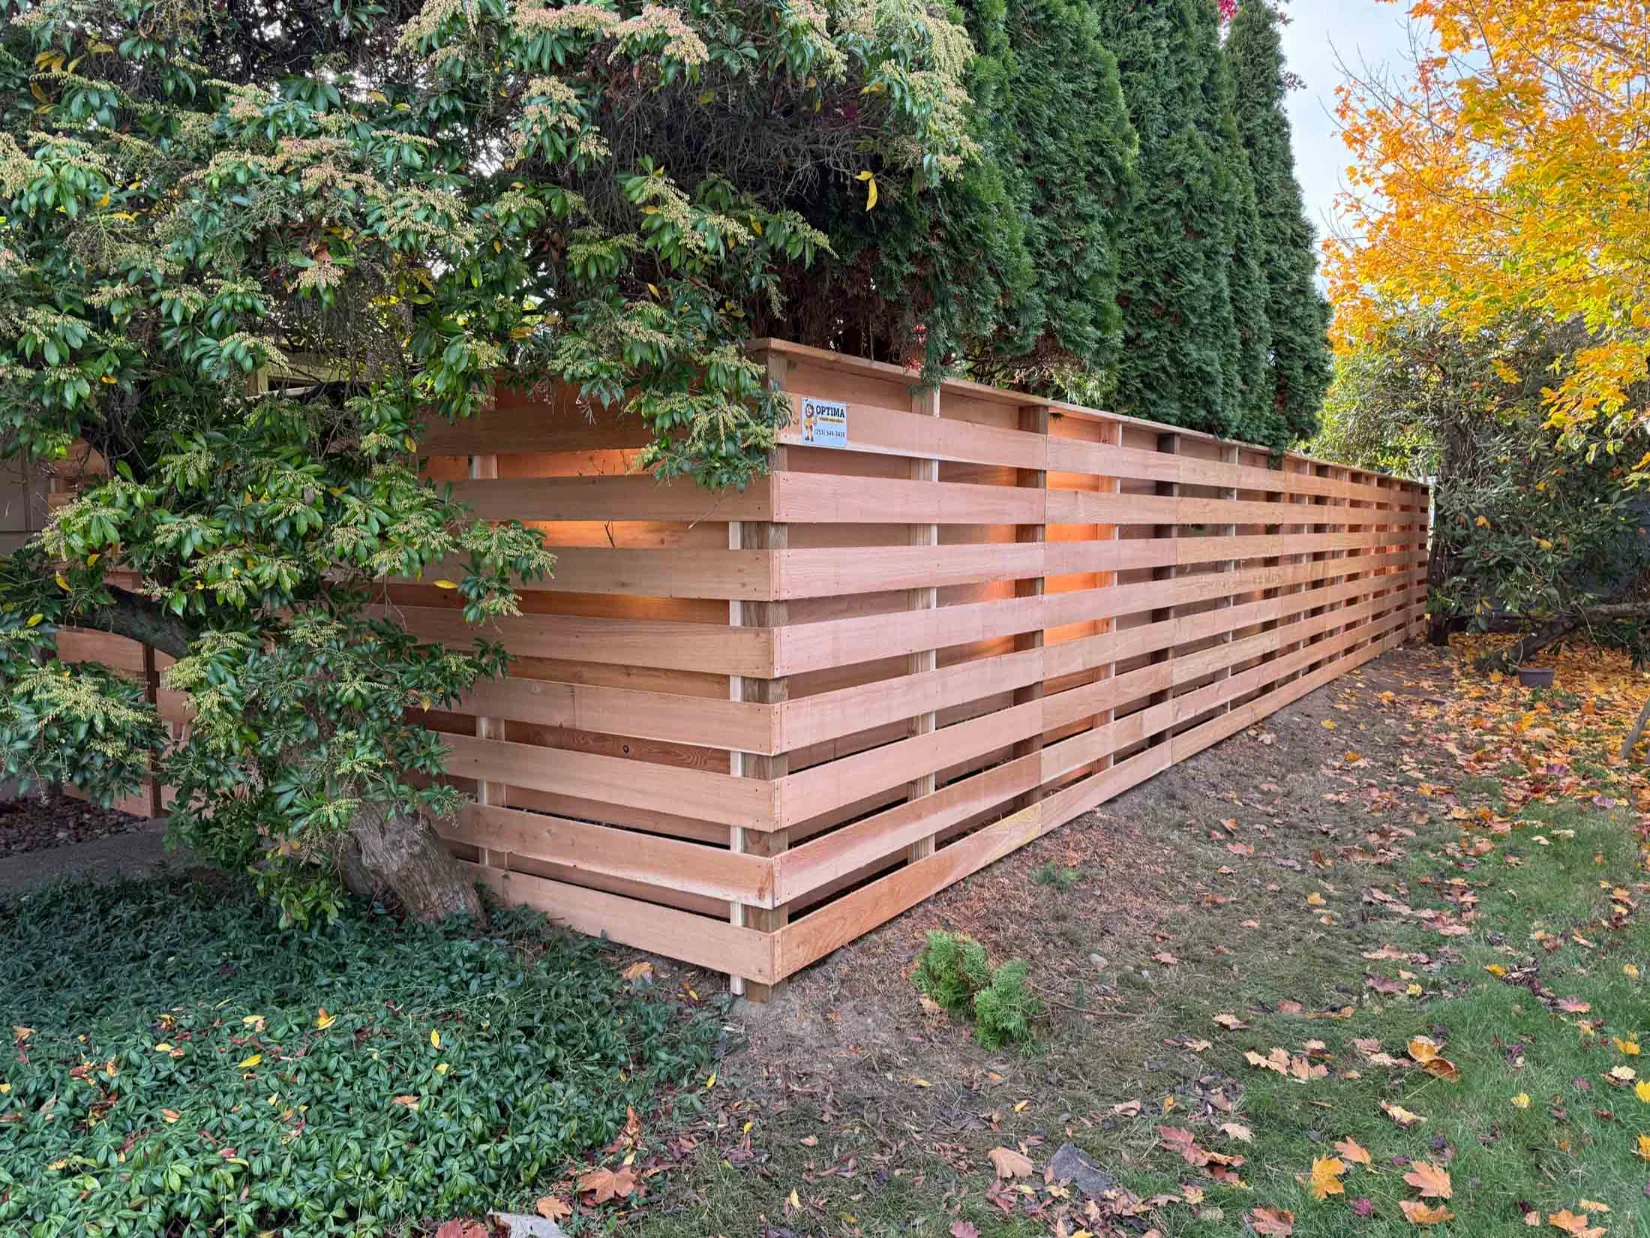
Without staining, cedar can lose up to half its strength from UV damage within two years. With proper installation, staining, and ongoing maintenance, cedar fences typically last much longer than untreated wood, especially in favorable climates. A good natural cedar fence stain also lets you customize the fence’s color, from natural cedar tones to rich browns.
When to Stain Cedar Fence
Timing is key for a successful cedar fence staining project. Choosing the right moment ensures the stain soaks in properly and provides long-lasting protection.
How Long Should You Wait to Stain a Cedar Fence?
After installing a new cedar fence, wait 4 to 8 weeks before staining. This allows the wood to dry out completely, preventing poor stain absorption and peeling. You can test readiness by sprinkling water on the wood. If it soaks in quickly, the fence is ready; if it beads up, wait longer. Using a moisture meter, aim for a moisture content below 18% for optimal stain absorption.
Choose the Right Weather
Stain when temperatures are between 50°F and 90°F with low humidity. This is especially important in Washington, where sudden showers and morning moisture can interfere with proper curing. After staining, allow a full week of dry weather for proper curing.
Seasonal Tips
Late spring and early fall offer the best weather for staining, with moderate temperatures and less rain. If your fence was built in winter, we suggest that you wait until a suitable dry period in spring.
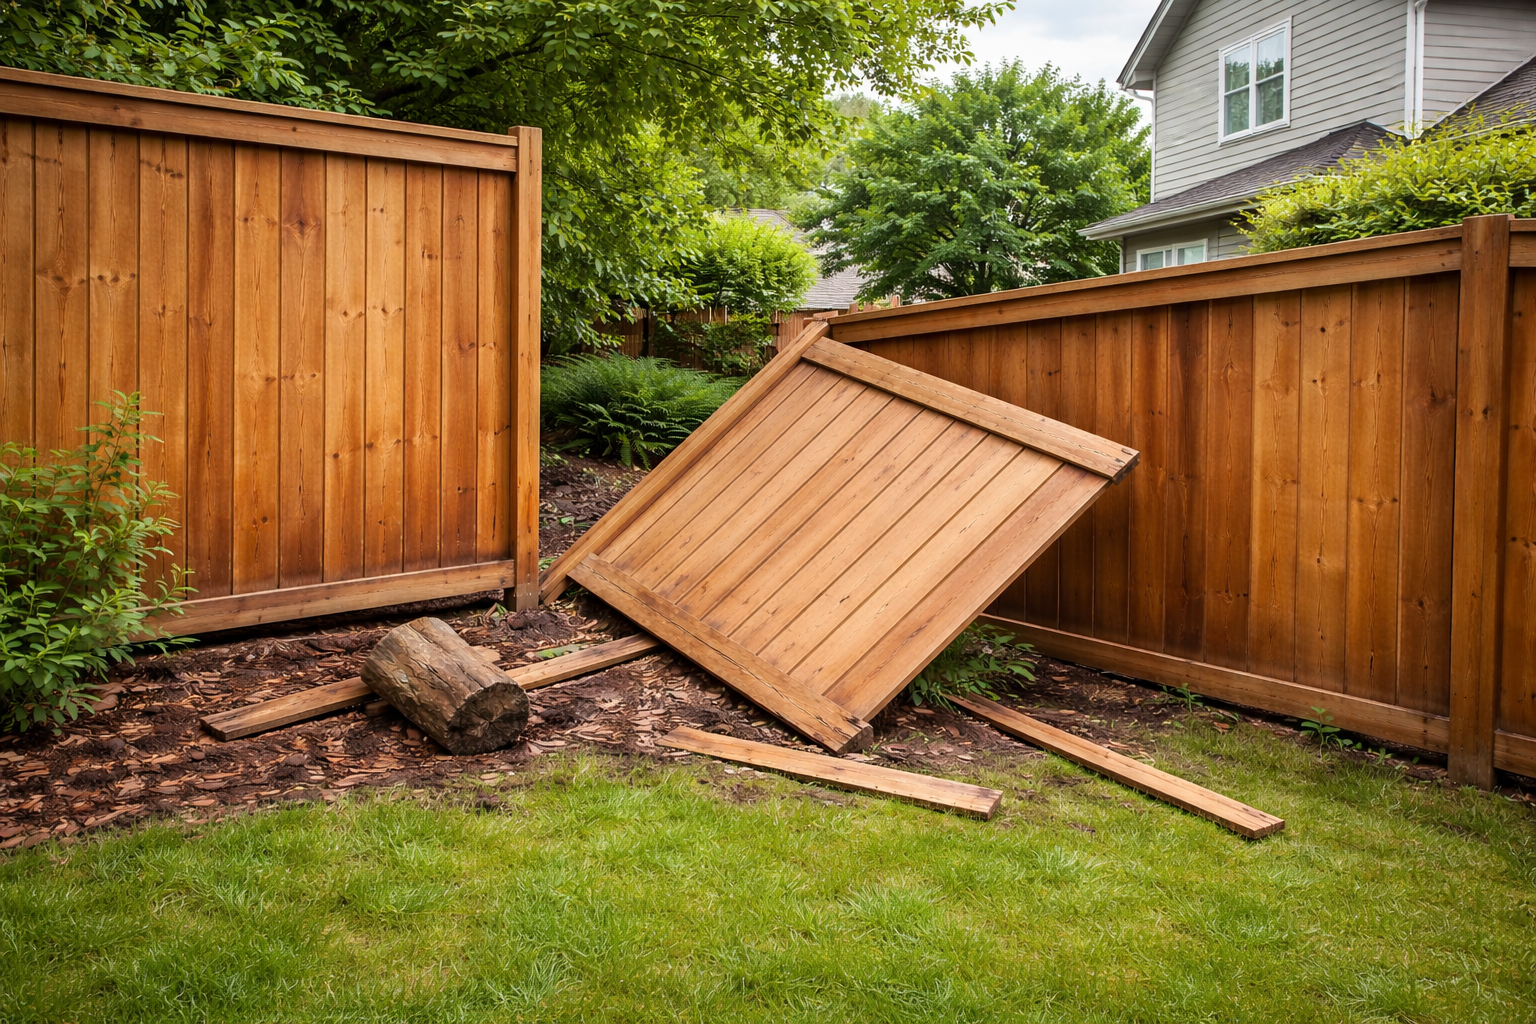
How to Prep a Cedar Fence for Staining
Proper preparation is essential for an even, lasting finish and is the ticket to a successful cedar fence staining job.
Inspect and Repair
- Replace cracked or damaged boards.
- Tighten loose screws and hammer down protruding nails for security.
- Sand rough spots smooth for a fine surface.
- Secure any wobbly posts to maintain fence structure.
Clear the Area
- Trim back vegetation at least 6 inches from the fence.
- Cover nearby plants, vehicles, and surfaces to protect them from stain splash or overspray.
- Remove decorations and hardware.
How to Clean a Cedar Fence Before Staining
Dirt, mildew, and old residues block stain absorption.
- Use a cedar fence cleaner or wood brightener with a pump-up garden sprayer.
- Scrub gently with a soft brush.
- Rinse with a garden hose or a low-pressure washer using the lowest effective setting, keeping the nozzle at least 12–18 inches away to avoid damaging cedar fibers.
- Avoid aggressive washing that can damage the wood fibers.
Drying
After cleaning, let your cedar fence dry thoroughly before staining. This drying period usually takes between 24 to 72 hours, depending on sunlight and airflow. Ensuring wood moisture content is below 18% helps the stain adhere properly and prevents peeling or uneven color.
Test the Stain
Before committing to the entire fence, test the stain on a small, hidden section. This allows you to check how the color looks and how well the wood absorbs the stain, helping avoid surprises.
Safety Precautions
When working with wood cleaners, stains, or sanding, always wear protective gear such as gloves, eye protection, and a mask to keep yourself safe from chemicals and dust.
Choosing the Right Cedar Fence Stain
Selecting the proper stain is just as crucial as preparing your cedar fence. The right stain protects the wood, enhances its appearance, and ensures long-lasting durability. Choosing wisely sets the foundation for a successful staining project.
Recommended Products
- Ready seal: Great for untreated cedar and a popular choice among professional fence contractors and experienced DIYers.
- Flood's CWF UV5: Semi-transparent finish without a painted look.
- Oil-based stains: Provide deep penetration and strong moisture resistance.
Oil-Based vs Water-Based
Before choosing a stain, it helps to compare how oil-based and water-based options differ in drying time, cleanup, and overall protection.
Oil-based and water-based stains differ in performance, application, and maintenance. Oil-based stains penetrate deeper into cedar, providing stronger moisture resistance and longer-lasting protection, though they take longer to dry and have a stronger odor.
Water-based stains dry faster, clean up easily with soap and water, and produce fewer fumes, but they may not last as long and often require more frequent reapplication.
Opacity Options
- Transparent: Shows wood grain, lasts 1–2 years.
- Semi-transparent: Moderate grain visibility, 2–3 years lifespan.
- Solid: Covers grain, offers highest protection, lasts 4–5 years.
Look for exterior-grade stains labeled for fences or decks with UV blockers and mildew-resistant additives. Rough wood absorbs more stain, so buy extra to account for absorption and touch-ups.
Best Way to Apply Stain to a Fence: Brush, Roller, or Sprayer?
Choosing the right application method depends on the size of your cedar fence, the tools you have on site, and your comfort level with each technique. Here are some of the best ways we suggest when applying stain to your fence.
Staining a Fence with a Brush
Ideal for small fences, detailed work, and tight spots.
- Pros: Offers excellent control and allows deep stain penetration into the wood grain.
- Cons: More time-consuming and labor-intensive compared to other methods.
- Tips: We recommend using a high-quality natural bristle brush for oil-based stains and synthetic bristles for water-based stains. Always brush along the grain for the best finish.
Roller and Brush Combo
A great balance between speed and precision for medium-sized fences.
- Roll: Quickly covers large, flat areas with an even coat.
- Brush: Perfect for working stain into corners, edges, and textured wood surfaces.
- Tips: Use a medium-nap roller designed for rough surfaces to ensure even coverage without splatter.
How to Stain a Cedar Fence with a Sprayer
Best choice for large fences or when you want to finish quickly.
- Types: Airless sprayers and pump-up garden sprayers are popular options.
- Pros: Provides fast, even coverage and reaches difficult spots.
- Cons: Requires careful masking to prevent overspray on plants, structures, or walkways. There is also a learning curve to avoid runs and drips.
- Tips: We recommend practicing on a scrap piece of wood to get comfortable with the spray pattern and distance. Follow up immediately with a brush to back-brush the stain, pushing it into the wood grain for better adhesion and a smooth finish.
Application Tips for All Methods
- Work from top to bottom to catch drips before they dry.
- Keep a wet edge to avoid lap marks and uneven color.
- Smooth out runs or puddles promptly with a brush.
- Apply one solid, even coat; add a second light coat if needed after the first has dried.
- Avoid staining in direct sunlight or very hot weather to prevent quick drying that can cause streaks.
Drying Time
- Stains generally dry to the touch within a few hours but require 24–48 hours to cure fully.
- Keep children, pets, and sprinklers away from the fence until the stain is completely dry.
- Check the manufacturer’s instructions for specific drying times based on the stain type and weather conditions.
Aftercare: Maintaining Your Stained Cedar Fence
Staining is just the start. Proper aftercare keeps your fence looking great and extends its life.
Normal Aging
Over time, expect some color fading, minor cracks, and natural weathering. Keep an eye out for bare spots, mildew, or peeling stain, which signal it’s time for maintenance.
Routine Cleaning
Homes in wetter areas may need cleaning more often to remove moss and mildew buildup caused by constant moisture and shade. Avoid high-pressure washing, which can damage the wood surface and strip the stain.
Vegetation Control
Trim back plants and vines near the fence to prevent moisture buildup and improve airflow, helping to reduce mold and mildew growth.
Re-Staining
Most semi-transparent stains need reapplication every 2 to 4 years. Inspect your fence annually and after heavy storms to spot areas that may need touch-ups or a fresh coat.
Spot Repairs
Keep some stain on hand for quick touch-ups on high-traffic or weather-exposed spots. Addressing these early helps maintain a uniform look and protects the wood from damage.
Final Thoughts
Staining a cedar fence is a practical way to extend its lifespan and preserve the look of your outdoor space. With the right timing, careful preparation, and proper application, your fence can hold up well against sun, moisture, and changing weather. Even for first-time projects, taking it step by step helps make the process easier and more effective.
If you’re planning a new fence or considering an upgrade, Optima Fence & Deck can help with expert fence and deck installation. A well-built cedar fence is the best starting point for long-term protection and maintenance. Contact us to learn more about your options and we will help you take the next step toward improving your outdoor space.
FAQs
What is the best way to stain a cedar fence?
For large fences, using a paint sprayer followed by brushing is the fastest and most effective method, ensuring even coverage and deeper stain penetration. For medium or smaller fences, a combination of roller and brush works well—rollers cover broad areas quickly, and brushes help reach tight spots. For detailed or small areas, a brush alone provides the best control.
Do I need to strip old stain before re-staining?
You only need to strip the old stain if it is peeling, flaking, or severely deteriorated. If the existing stain is in good condition, a thorough cleaning and light sanding of rough spots usually suffice before applying a new coat of compatible stain. Testing a small area first can help ensure good adhesion.
How much stain will I need?
Calculate the total surface area of your fence, including both sides and any gates or posts you plan to stain. Because cedar is rough and porous, it absorbs more stain than smooth wood, so it’s wise to buy extra to cover absorption and allow for touch-ups later.
How to stain a cedar fence with a sprayer?
Use an airless or pump-up garden sprayer to apply stain evenly and quickly on large fences. Practice on scrap wood to master the spray distance and pattern. Immediately back-brush after spraying to push stain into the wood grain and ensure even coverage.
What safety precautions should I take when staining my fence?
Always wear protective gloves, eye protection, and a mask to guard against chemicals and dust. Work in a well-ventilated area to avoid inhaling fumes. Cover nearby plants, vehicles, and surfaces to protect them from overspray or drips. Follow all manufacturer instructions and dispose of stain products responsibly.


.png)